

Nearly 60 percent of American adults say finding the right skincare routine feels confusing. With so many products and trends competing for attention, it can be tough to know what actually works. If you want glowing, healthy skin, learning the proper way to prepare for rosehip oil makes a real difference. This easy-to-follow guide helps you master each step, from gentle cleansing to mindful application, so you get the most from every drop.
Table of Contents
- Step 1: Cleanse Skin Thoroughly With Gentle Products
- Step 2: Pat Face Dry And Assess Skin Readiness
- Step 3: Apply Rosehip Oil Using Delicate Motions
- Step 4: Massage Oil In To Boost Absorption
- Step 5: Evaluate Skin’s Response And Comfort
Quick Summary
| Key Point | Explanation |
|---|---|
| 1. Use a Gentle Cleanser | Choose a mild cleanser suited for your skin type, using lukewarm water to preserve moisture and avoid irritation. |
| 2. Leave Skin Slightly Damp | After patting your skin dry, keep it slightly damp before applying rosehip oil to enhance absorption. |
| 3. Apply with Care | Use 2 to 4 drops of rosehip oil, warming it between your fingers and applying with soft, circular motions. |
| 4. Massage for Better Results | Gently massage the oil into your skin to boost absorption and promote blood circulation, enhancing the benefits. |
| 5. Monitor Skin Reactions | Keep track of how your skin responds to the oil over time in a skincare journal to adjust your routine as needed. |
Step 1: Cleanse Skin Thoroughly with Gentle Products
Preparing your skin properly before applying rosehip oil is crucial for maximizing absorption and effectiveness. A clean canvas ensures that the nourishing botanical ingredients can penetrate deeply without encountering barriers like dirt, excess oil, or makeup residue.
Start by selecting a gentle clean beauty cleanser that matches your skin type. For sensitive skin, opt for mild formulations free from harsh sulfates, alcohol, or synthetic fragrances. Use lukewarm water to avoid stripping your skin’s natural protective barrier. Gently massage the cleanser using circular motions, focusing on areas prone to congestion like the T zone, but being careful not to create friction or irritation.
Pro tip: Always pat your skin dry with a soft clean towel instead of rubbing, which can cause unnecessary stress to sensitive skin. Leaving your skin slightly damp before applying rosehip oil helps enhance absorption and locks in hydration more effectively. This preparatory step transforms your skincare routine from a simple task to a mindful self care ritual that honors your skin’s unique needs.
Step 2: Pat Face Dry and Assess Skin Readiness
After cleansing, the critical next step is preparing your skin to receive rosehip oil by gently patting it dry and evaluating its current condition. This mindful approach helps ensure optimal absorption and prevents potential irritation.

Use a soft clean towel and gently pat your skin dry without rubbing or creating friction. The goal is to leave your skin slightly damp, which helps maximize face oil absorption and create the perfect environment for rosehip oil penetration. Take a moment to observe your skin texture and look for any signs of sensitivity, redness, or areas that might need extra nourishment.
Pro tip: If you have sensitive or reactive skin, perform a quick spot test by applying a small amount of rosehip oil to your inner forearm and waiting 24 hours to check for any adverse reactions. This precautionary step can prevent potential skin irritation and ensure your skincare routine remains a nurturing experience that honors your skin’s unique needs and sensitivities.
Step 3: Apply Rosehip Oil Using Delicate Motions
Applications of rosehip oil require a gentle touch that respects your skin’s delicate nature and maximizes absorption of its powerful botanical nutrients. Understanding the right technique transforms this step from a simple skincare task into a nurturing self care ritual.
Start by dispensing 2 to 4 drops of rosehip oil into your palm, then gently warm the oil between your fingertips. Explore botanical oil application techniques that emphasize soft, circular motions. Beginning at the center of your face, use light upward and outward strokes to distribute the oil evenly. This method helps prevent tugging or stretching your skin while ensuring each area receives nourishing coverage.

Pro tip: If you have particularly sensitive areas or are prone to congestion, focus on pressing the oil into your skin rather than rubbing. Allow the oil to absorb naturally, giving your skin time to drink in the healing botanical nutrients. Remember that less is more rosehip oil is potent, and a few drops can provide transformative benefits for your skin’s radiance and overall health.
Step 4: Massage Oil In to Boost Absorption
Massaging rosehip oil into your skin is more than a simple application technique its a holistic ritual that enhances nutrient penetration and supports your skin’s natural healing processes. By using intentional massage techniques, you transform a basic skincare step into a moment of profound self connection and cellular nourishment.
Begin by using your fingertips to create gentle circular motions, starting from the center of your face and moving outward. Botanical oil massage techniques can help stimulate lymphatic drainage and improve blood circulation, which supports your skin’s natural regeneration process. Focus on using light pressure that allows the oil to penetrate deeply without causing unnecessary friction or stress to your delicate facial tissues.
Pro tip: Consider incorporating a brief facial massage routine that takes no more than 3 to 5 minutes. Pay special attention to areas prone to tension like your jawline, forehead, and around the eyes. By approaching this step as a mindful practice, you not only enhance rosehip oil absorption but also create a therapeutic moment of self care that nurtures both your skin and your inner sense of wellness.
Step 5: Evaluate Skin’s Response and Comfort
Monitoring your skin’s response to rosehip oil is a crucial step in creating a personalized skincare experience that honors your unique dermal needs. This mindful observation helps you understand how your skin communicates and adapts to new botanical treatments.
Begin by paying close attention to any changes in your skin texture, hydration levels, and overall appearance. Sensitive skin care techniques recommend tracking your skin’s response over several weeks, noting improvements in texture, reduction of inflammation, or any potential signs of irritation. Look for subtle shifts such as increased softness, reduced redness, or improved skin elasticity that indicate positive absorption of the rosehip oil’s healing properties.
Pro tip: Keep a skincare journal to document your skin’s journey. Record not just physical changes, but also how your skin feels throughout the day. This practice transforms skincare from a routine into a compassionate dialogue with your body, helping you make informed decisions about your unique skincare needs. Remember that every skin is different, and what works beautifully for one person might require slight adjustments for another.
Unlock Radiant Skin with Pure Light Botanical Beauty
If you have been learning how to use rosehip oil naturally for radiant skin, you know the importance of gentle cleansing, mindful application, and tuning in to your skin’s unique needs. Many struggle with sensitive or reactive skin that demands nourishment without irritation. At Pure Light Botanical Beauty, we understand these challenges deeply. Our clean, plant-based products complement your rosehip oil routine by providing soothing, skin-healing formulas that support hydration, reduce redness, and enhance your natural glow.
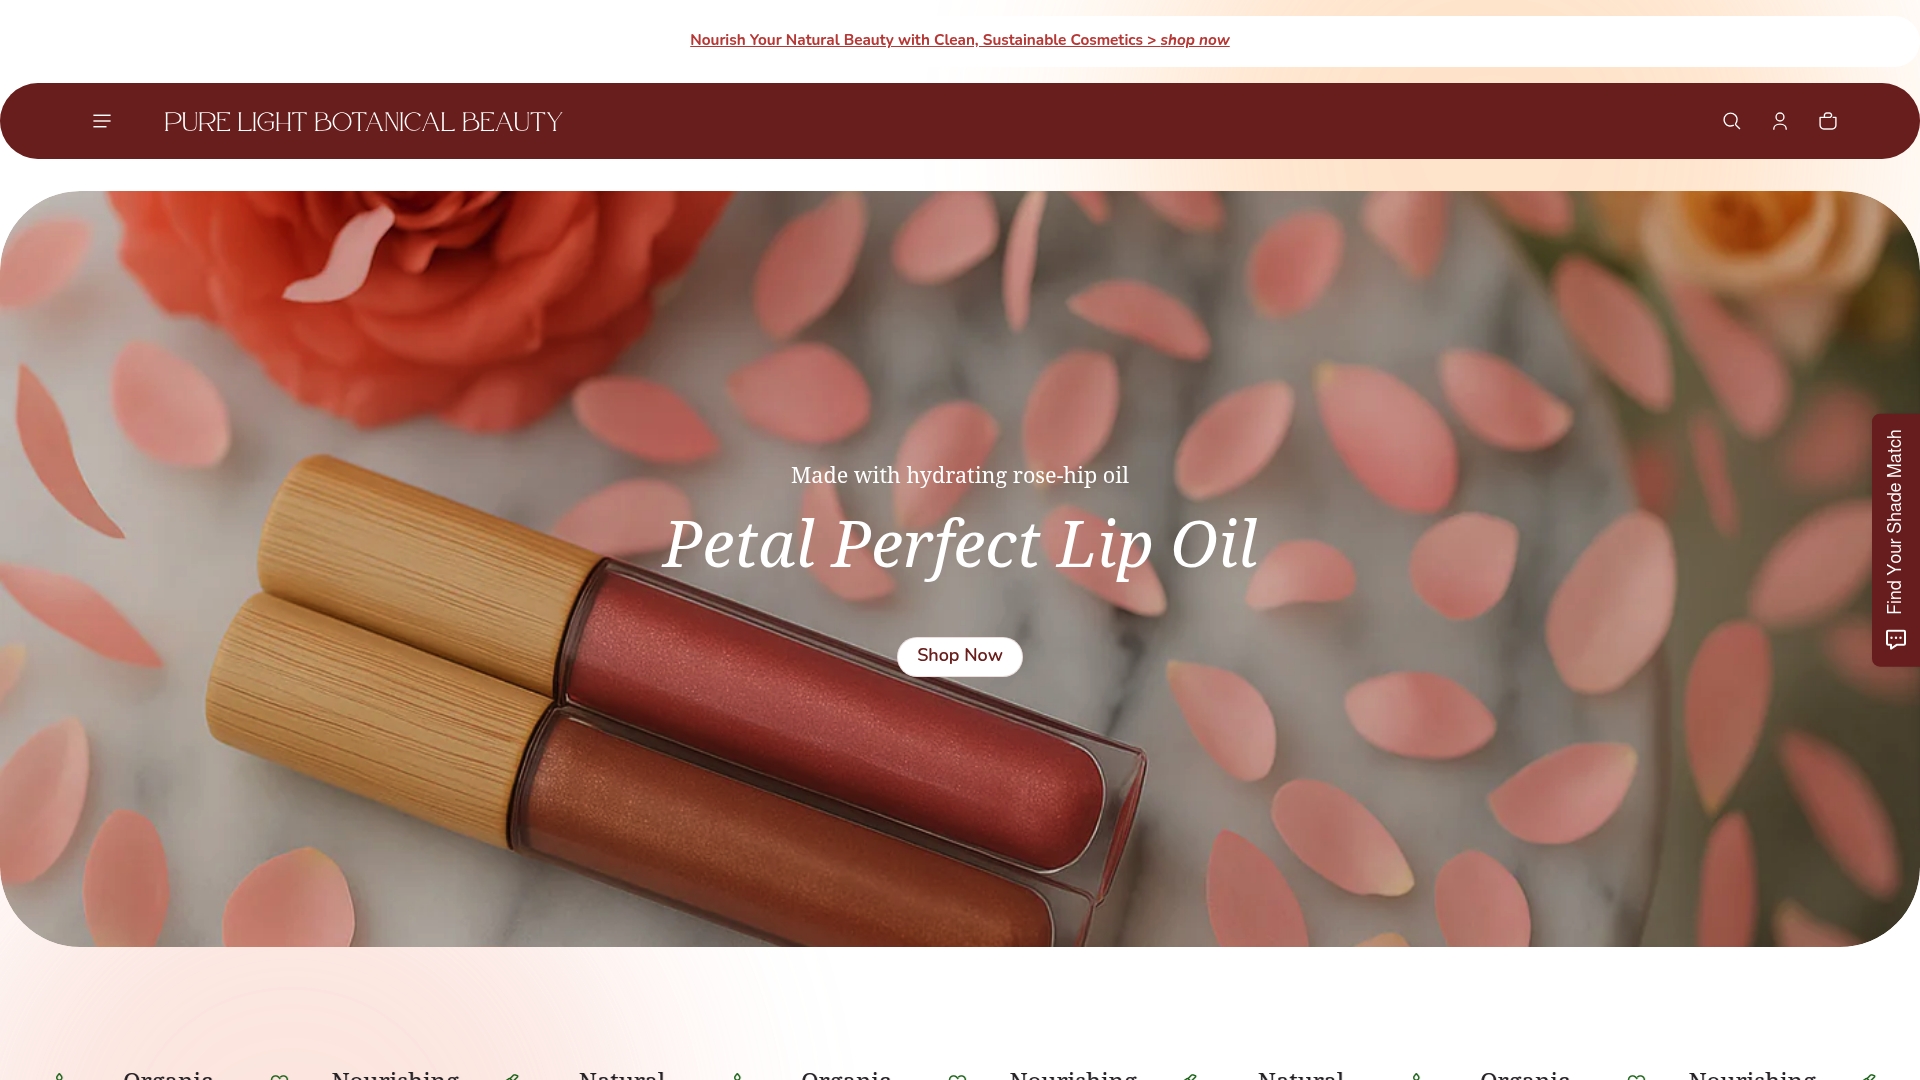
Experience the nurturing ritual of skincare that not only heals but empowers your whole self. Explore our thoughtfully crafted collection that blends botanical wisdom with modern artistry. Start now by visiting Pure Light Botanical Beauty to find products designed for sensitive skin and holistic beauty. Incorporate our offerings into your self-care routine and witness your skin’s transformation with every gentle touch. Your radiant, healthy skin is waiting.
Frequently Asked Questions
How should I cleanse my skin before applying rosehip oil?
To cleanse your skin effectively, choose a gentle clean beauty cleanser that fits your skin type. Use lukewarm water and massage the cleanser in circular motions, avoiding harsh ingredients, and then pat your skin dry with a soft towel.
How can I ensure my skin is ready for rosehip oil?
After cleansing, gently pat your face dry without rubbing to leave it slightly damp, which helps with absorption. Assess your skin for any signs of sensitivity or areas in need of extra hydration before applying the oil.
What is the correct technique for applying rosehip oil?
Use 2 to 4 drops of rosehip oil and warm it between your fingertips before applying. Start at the center of your face and use light upward and outward strokes to distribute the oil evenly without tugging your skin.
How do I massage the oil into my skin to improve absorption?
Incorporate gentle circular motions with your fingertips, focusing on areas like your jawline and forehead. Spend 3 to 5 minutes massaging to enhance nutrient penetration and stimulate blood circulation.
How can I track my skin’s response to rosehip oil?
Pay close attention to your skin’s texture, hydration, and any changes in appearance over several weeks. Document these observations in a skincare journal to better understand how your skin reacts.
How long will it take to see results from using rosehip oil?
Many users notice improvements in their skin’s texture and hydration within 30–60 days of consistent use. Keep tracking your skin’s response to determine the best routine for your specific needs.
Recommended
- Complete Guide to Rosehip Oil in Healing – Pure Light Botanical Beauty
- How to Use Face Oils for Sensitive Skin Naturally – Pure Light Botanical Beauty
- Understanding the Role of Natural Oils in Skincare – Pure Light Botanical Beauty
- 7 Types of Plant Oils for Skin: Safe Choices for Sensitive Skin – Pure Light Botanical Beauty
- Role of Natural Oils for Lips: Complete Guide – Luméra Cosmetica